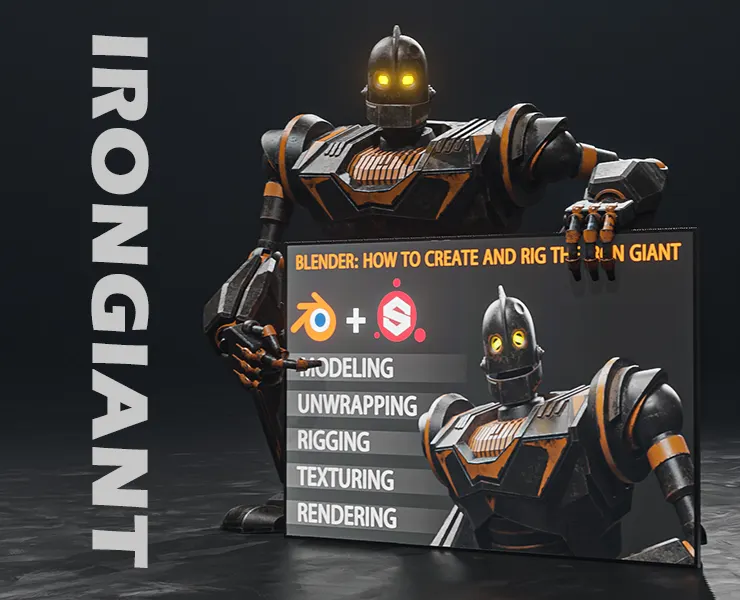
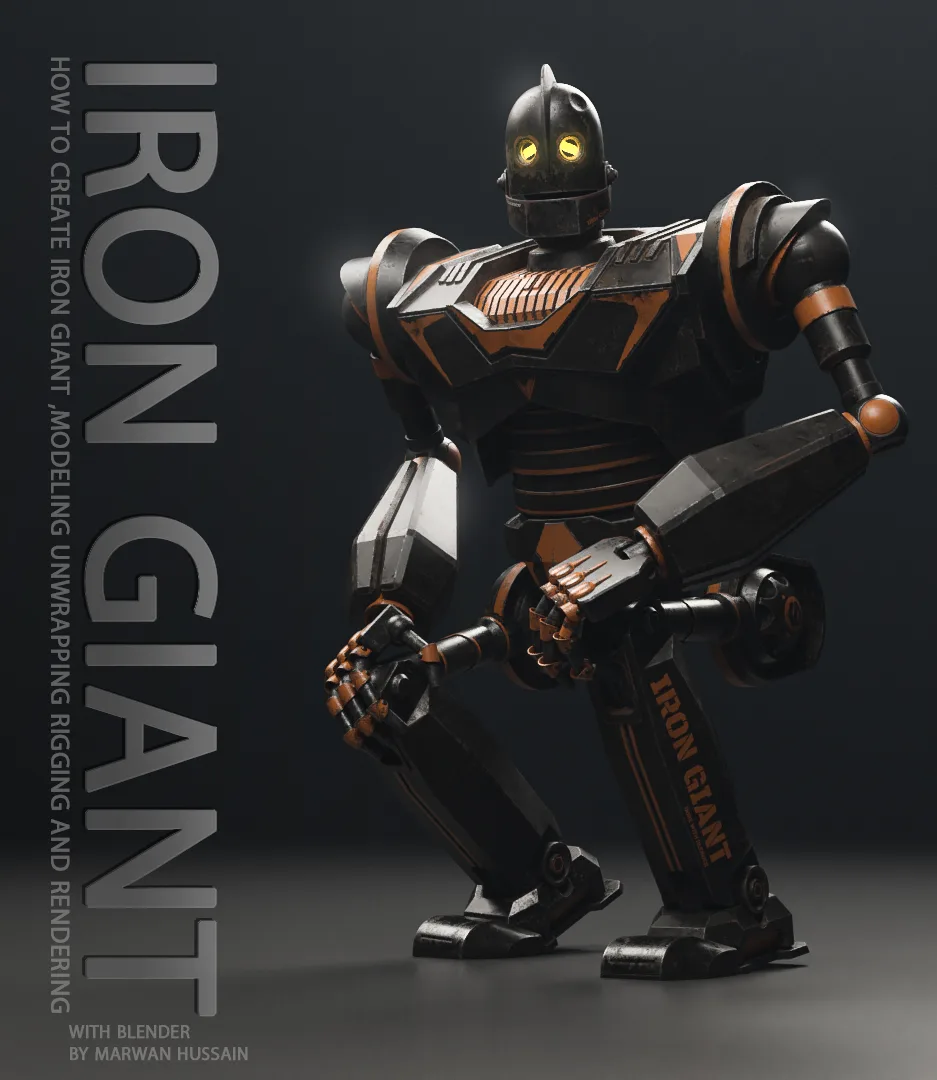
BLENDER: How to create and rig the Iron Giant
BLENDER: How to create and rig the Iron Giant
Hi everyone, my name is Marwan Hussain, and I'm a 3D artist I made a new course about Iron Giant but this course is different from my other courses, in this course, I will teach you how to make rigging, we will learn how to r rig this robot from start to finish using Blender 2.91
Before we jump to that let's talk about what we will do in the beginning,
in the beginning, we will learn how to model the whole robot from start to finish, this kind of modeling call Hard surface, it's a lot of fun we will learn how to shade your model correctly, how to use Bevel modifier symmetry, and other modifiers,
until we got a nice smooth result at the end of this section ( modeling )
After that we will jump to the next section I will call it Unwrapping, we will learn how to unwrap hard surface modeling correctly and reduce the UV distortion at the minimum
I will unwrap all the pieces one by one so you could learn how to do that and make it easier for you.
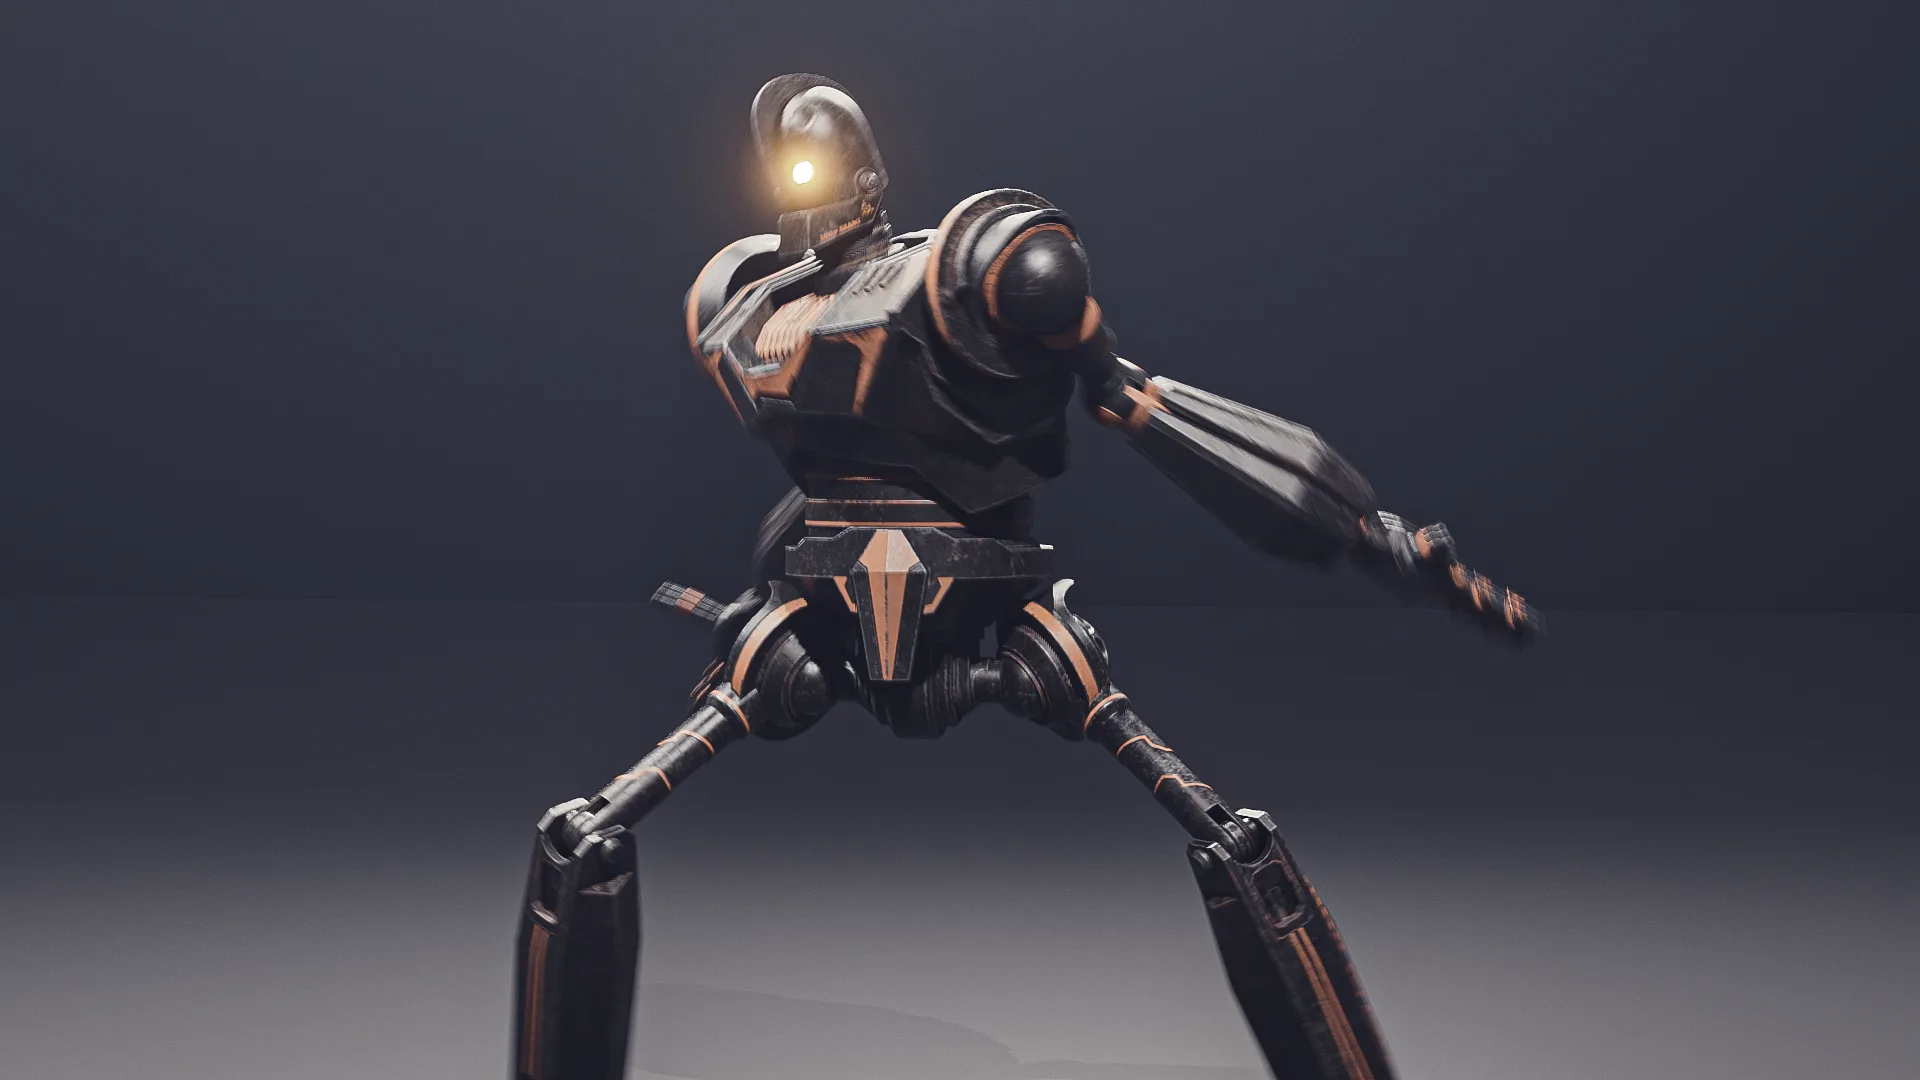
After the unwrapping section, we will start with the rig journey, in this journey, we will learn how to use armature and how to rig all necessary joints so you could be able to move your robot and make it ready for some animation.
The last section will be the Texturing and Rendering, this is a very important section because the final result depends on it.
we will
BLENDER: How to create and rig the Iron Giant
Hi everyone, my name is Marwan Hussain, and I'm a 3D artist I made a new course about Iron Giant but this course is different from my other courses, in this course, I will teach you how to make rigging, we will learn how to r rig this robot from start to finish using Blender 2.91
Before we jump to that let's talk about what we will do in the beginning,
in the beginning, we will learn how to model the whole robot from start to finish, this kind of modeling call Hard surface, it's a lot of fun we will learn how to shade your model correctly, how to use Bevel modifier symmetry, and other modifiers,
until we got a nice smooth result at the end of this section ( modeling )
After that we will jump to the next section I will call it Unwrapping, we will learn how to unwrap hard surface modeling correctly and reduce the UV distortion at the minimum
I will unwrap all the pieces one by one so you could learn how to do that and make it easier for you.
After the unwrapping section, we will start with the rig journey, in this journey, we will learn how to use armature and how to rig all necessary joints so you could be able to move your robot and make it ready for some animation.
The last section will be the Texturing and Rendering, this is a very important section because the final result depends on it.
we will