Technical Workflow for AAA Game Characters - Vol 2 : UV Mapping

Technical Workflow for AAA Game Characters - Vol 2 : UV Mapping
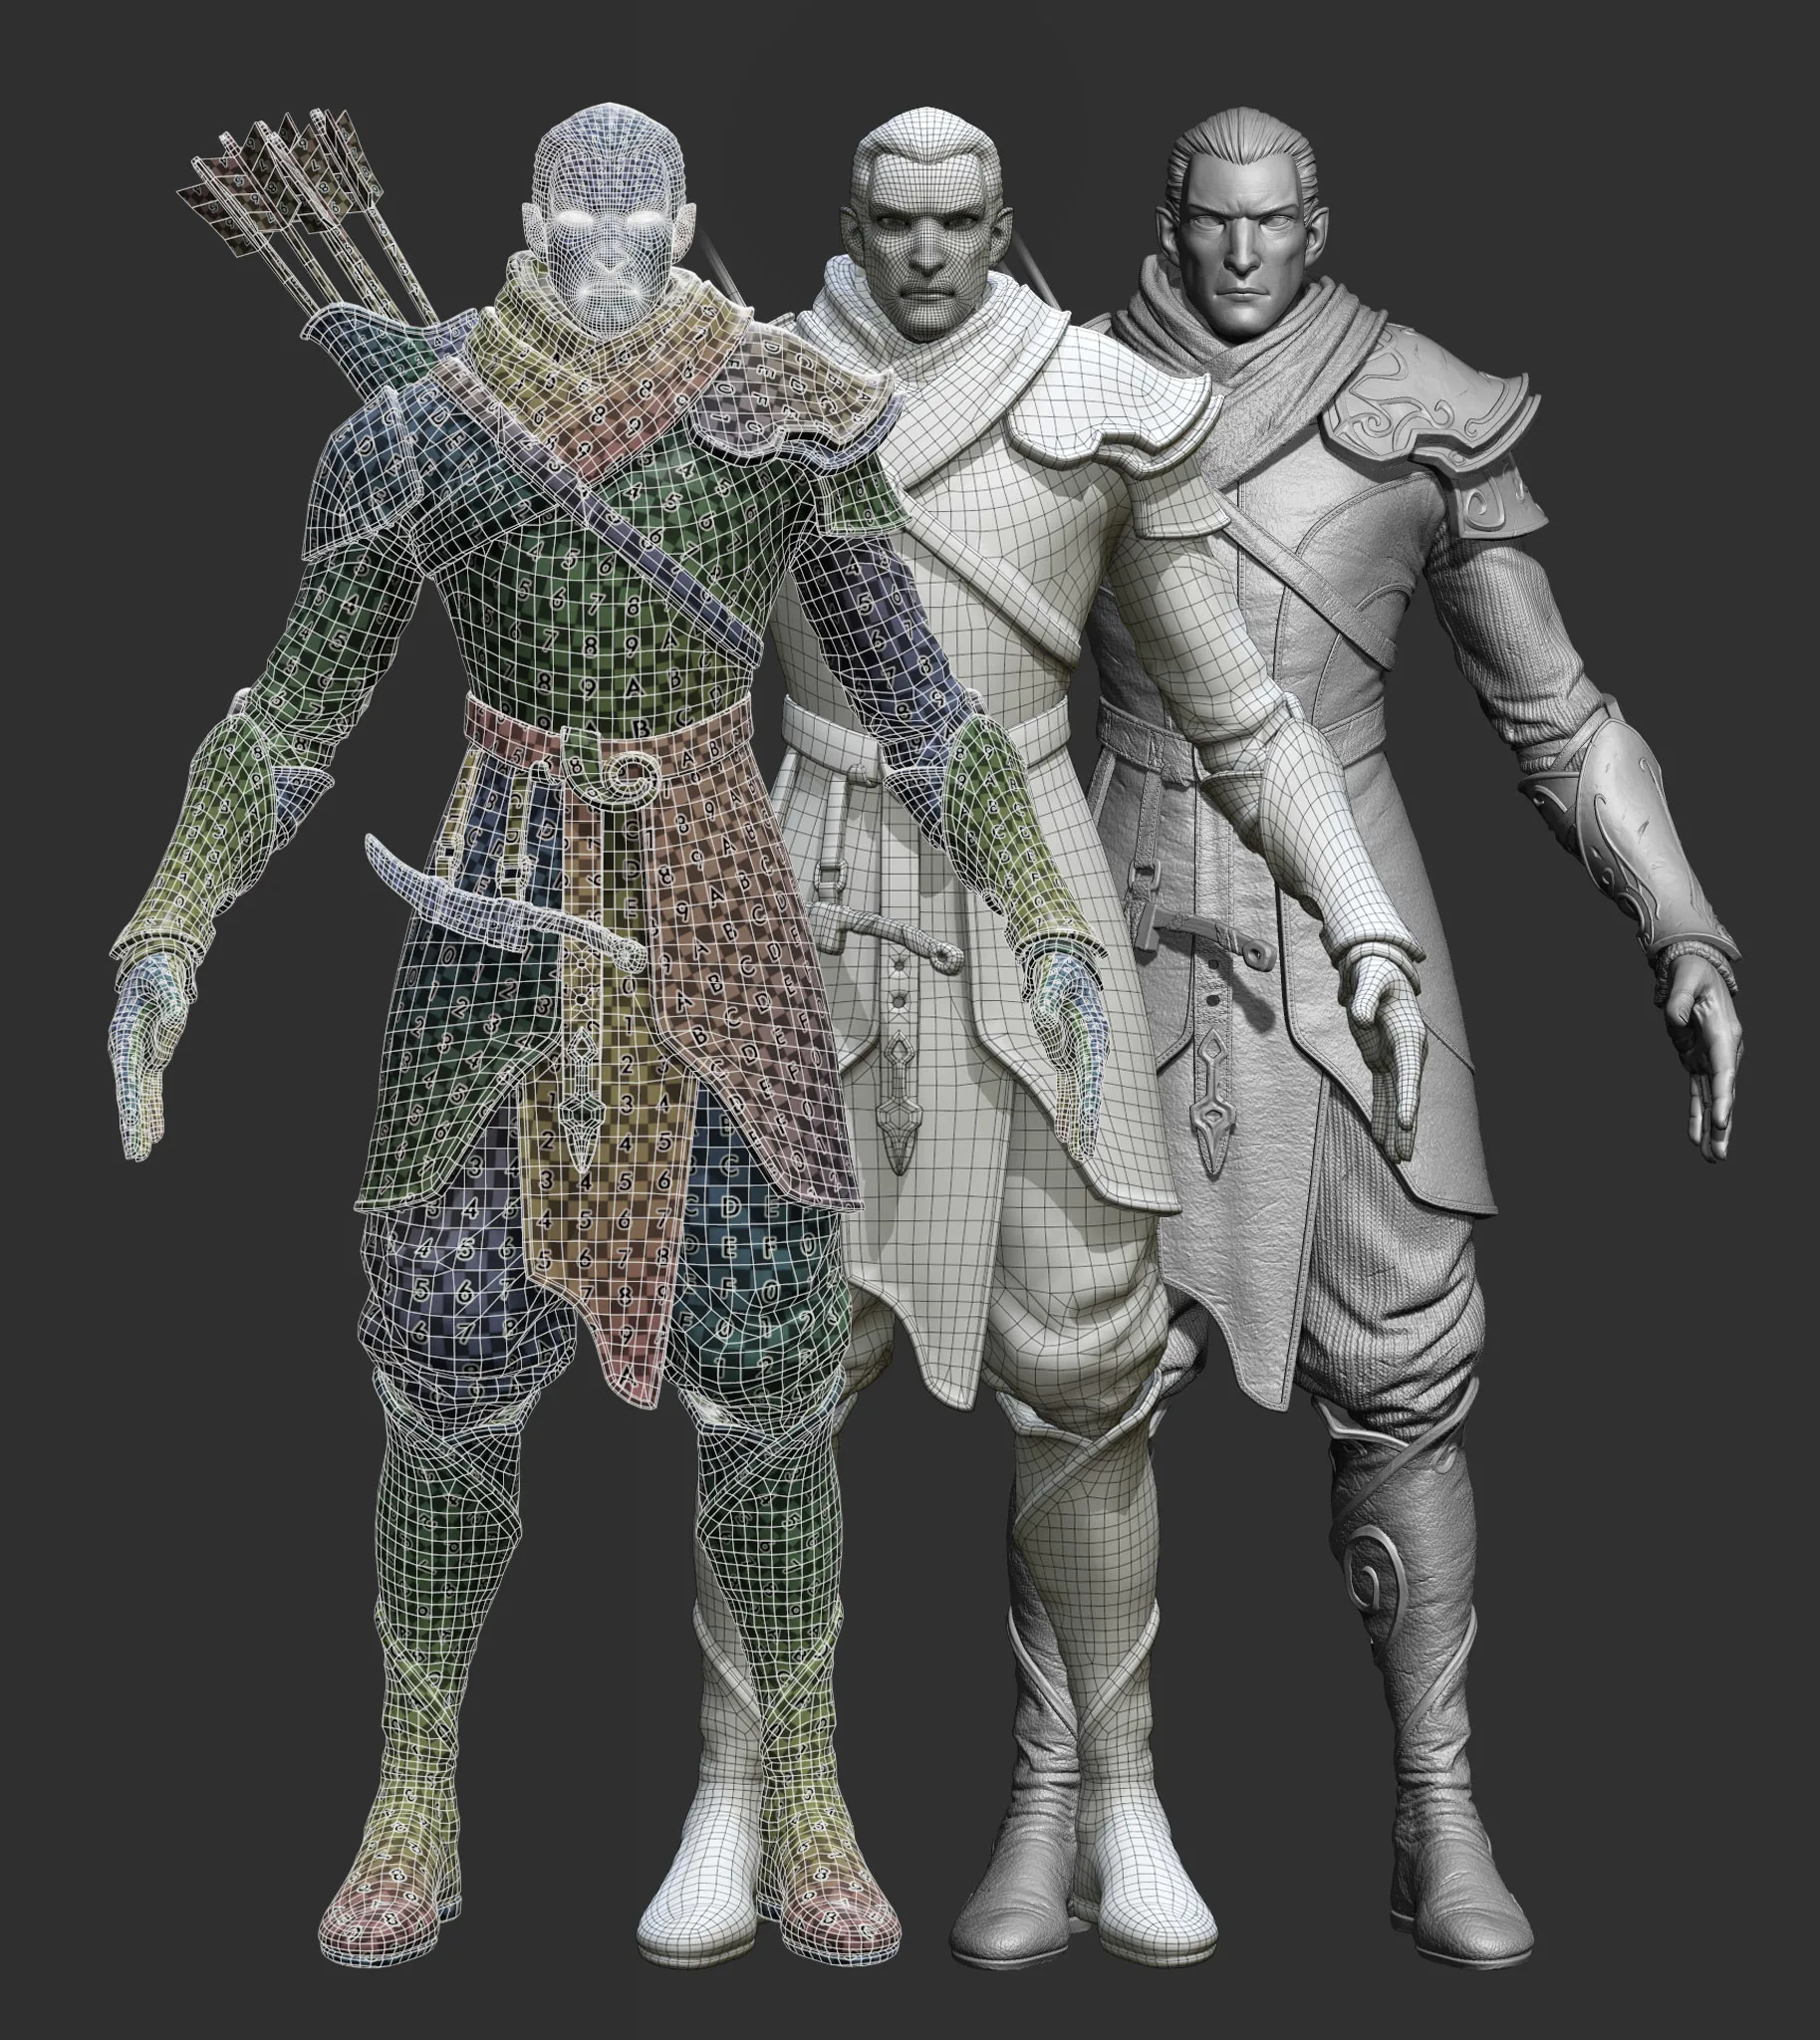
Now that we have our RETOPOLOGY TUTORIAL completed for our Elf character, the next stage for our Technical Workflow for AAA Game Characters is UV MAPPING!
The process of creating UVs seems to have always gotten a bad "wrap" but I'm going to show you how to make a good (un)wrap! Ok, that pun was a stretch but I think you know what I mean. Making good UVs is KEY to having a painless baking process later down the road. It's also a good way of keeping your future textures organized and easily edited. It's all about efficiency!
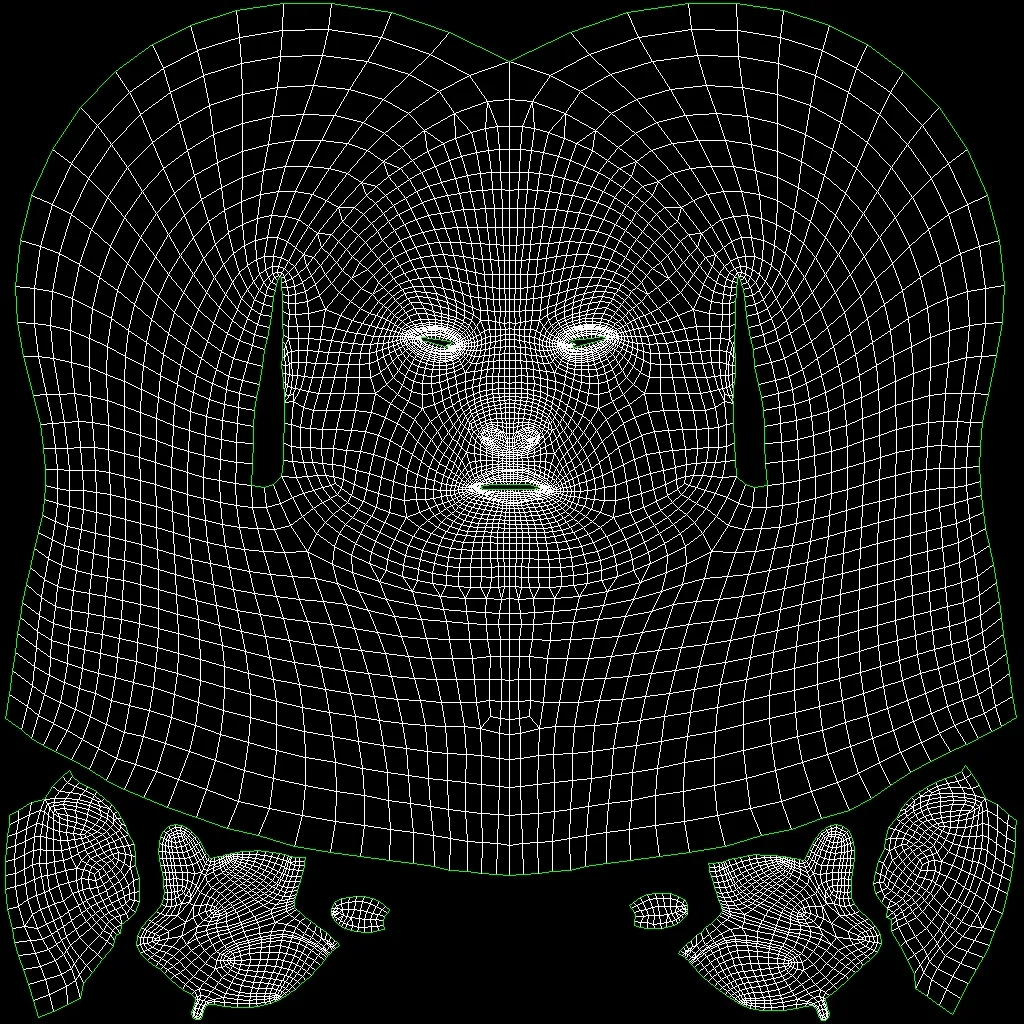
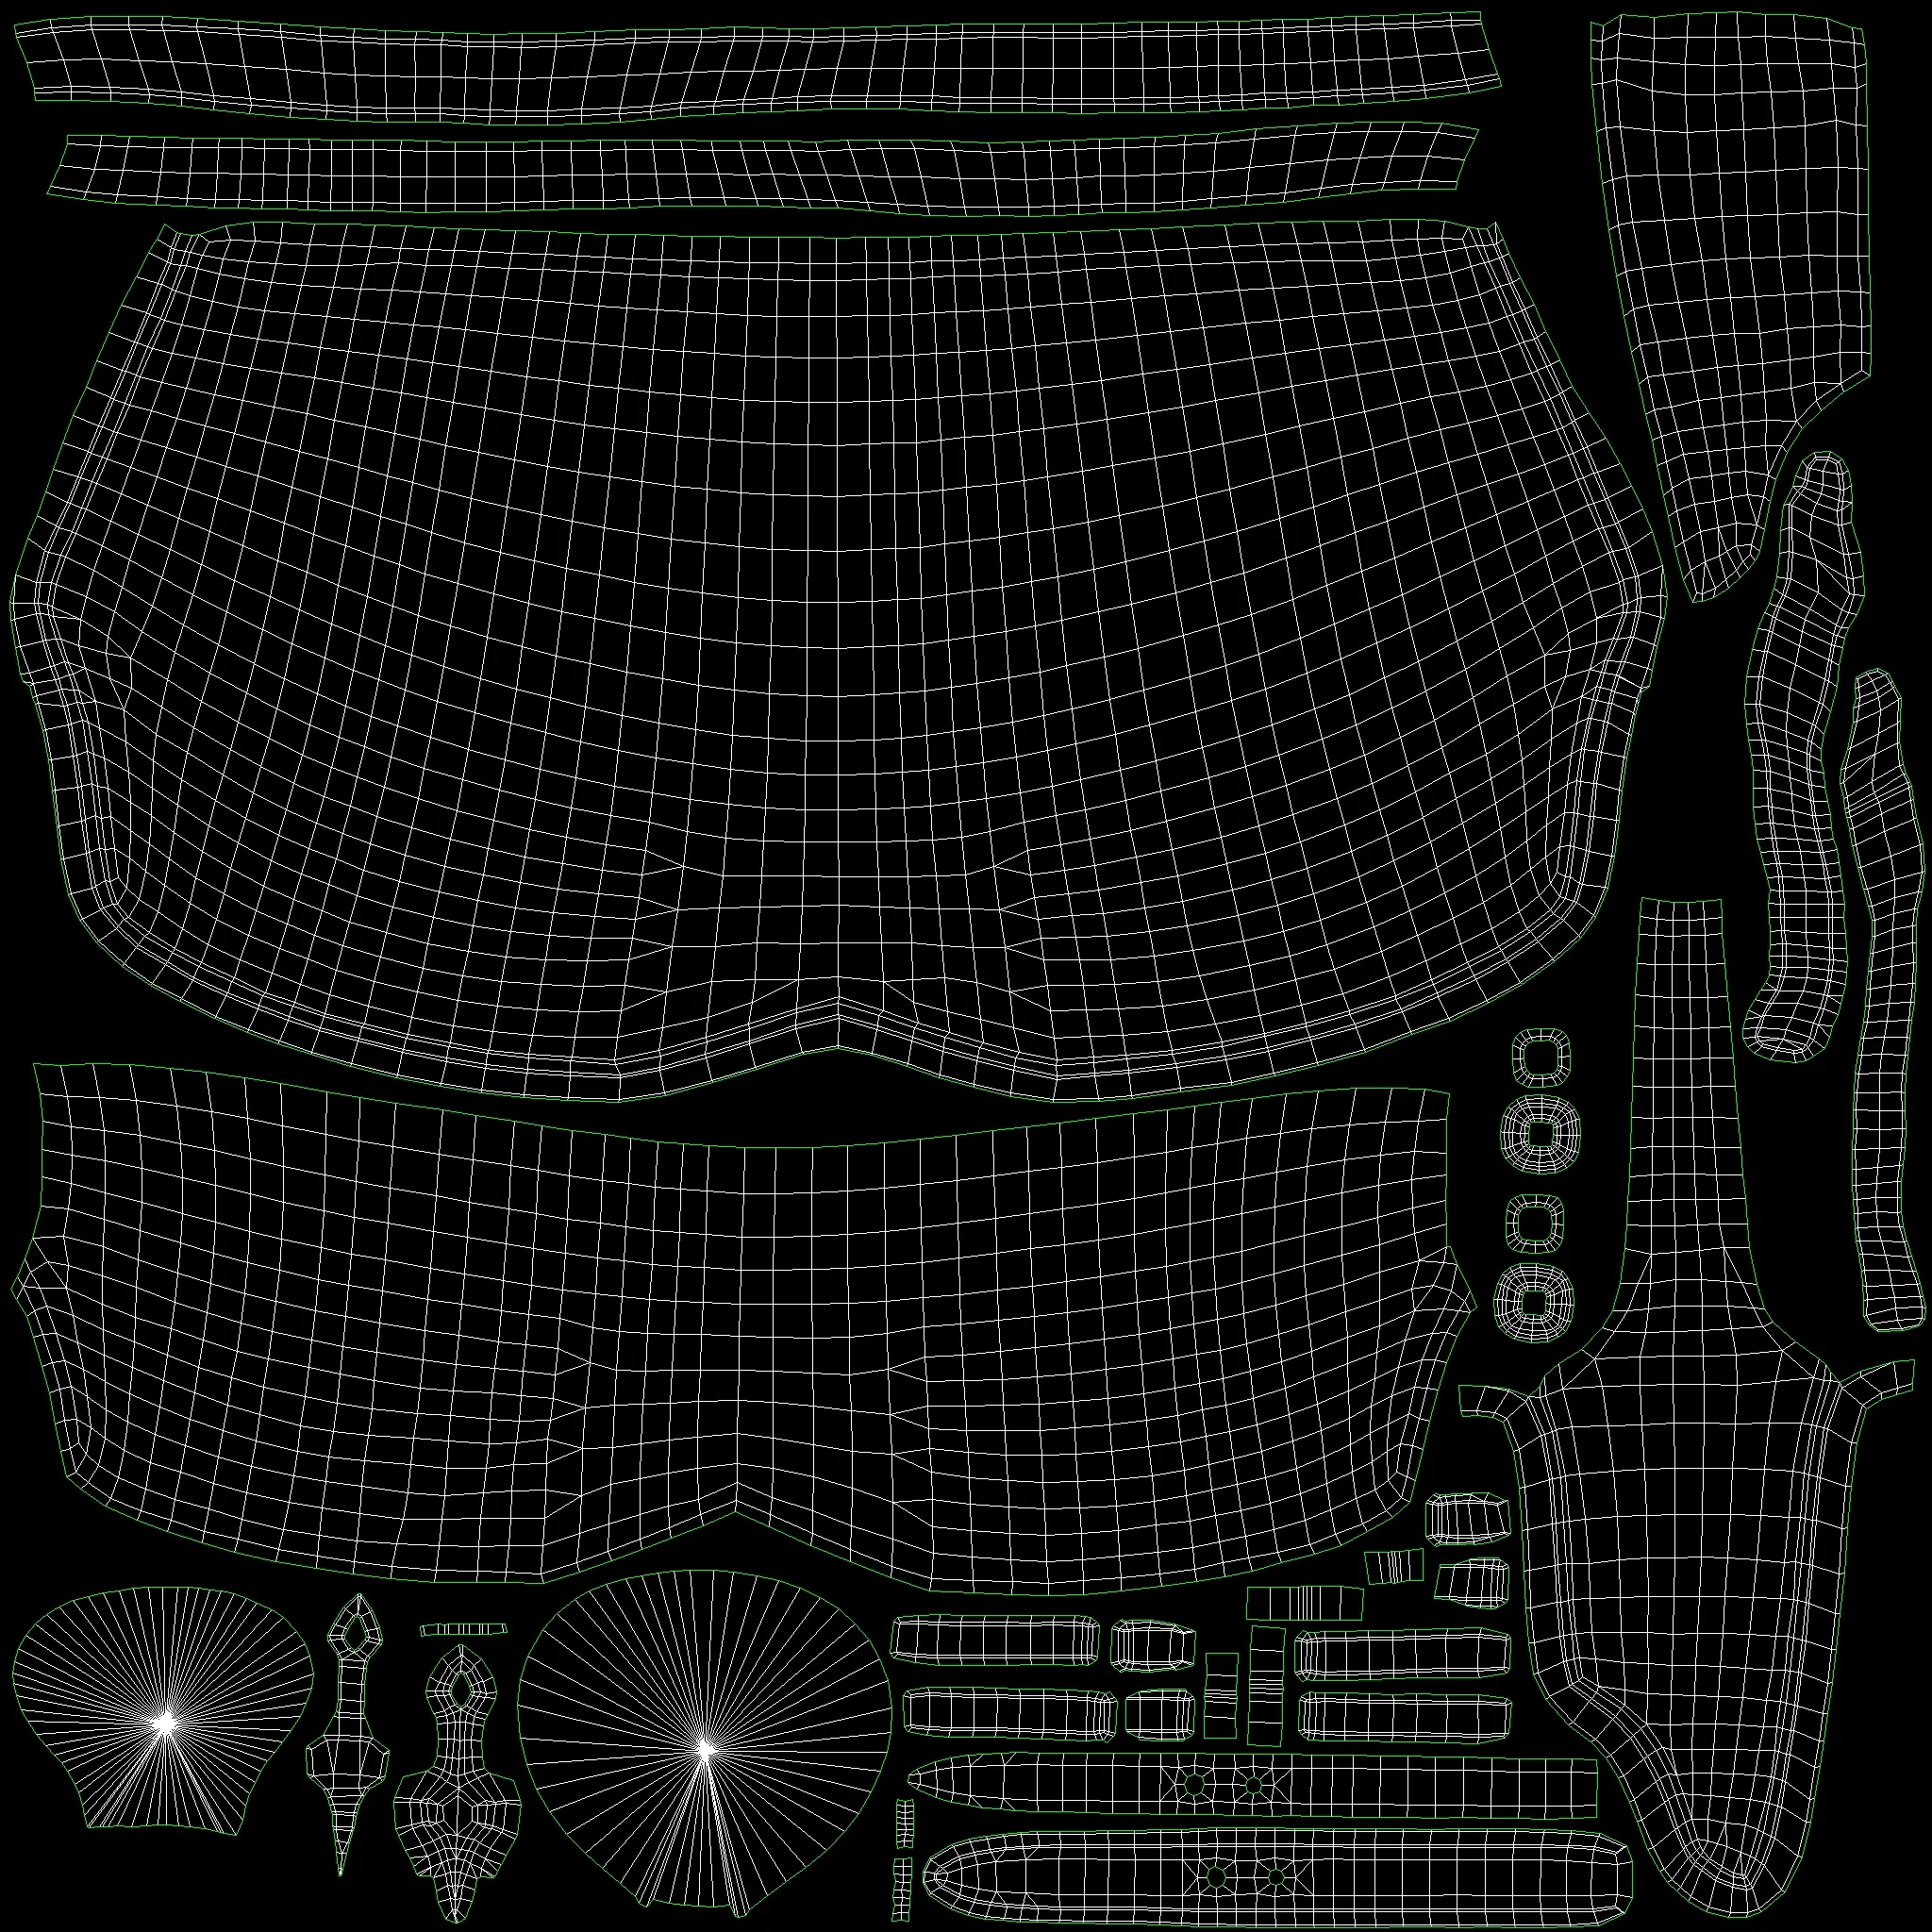
Again, for this tutorial series, I'm utilizing 3dsmax, mainly for creating our initial seams and breaking apart the shells. However, I do try to keep it somewhat software-agnostic, so we can focus more on good principles and technique. I then take our split shells into ZBrush and use UVMaster for relaxing and flattening the shells with ease. From there, we can organize the uv layout and packing back in 3dsmax.
I cover all elements of the whole character, including HEAD/FACE, HAIR (solid), EYES, and how to unwrap and organize all the other pieces of the body/outfit.
3.5 hrs of mostly real time non-edited videos with voiceover instruction (some moments are on 2x speed just to make it more "watchable" and sm
Technical Workflow for AAA Game Characters - Vol 2 : UV Mapping
Now that we have our RETOPOLOGY TUTORIAL completed for our Elf character, the next stage for our Technical Workflow for AAA Game Characters is UV MAPPING!
The process of creating UVs seems to have always gotten a bad "wrap" but I'm going to show you how to make a good (un)wrap! Ok, that pun was a stretch but I think you know what I mean. Making good UVs is KEY to having a painless baking process later down the road. It's also a good way of keeping your future textures organized and easily edited. It's all about efficiency!
Again, for this tutorial series, I'm utilizing 3dsmax, mainly for creating our initial seams and breaking apart the shells. However, I do try to keep it somewhat software-agnostic, so we can focus more on good principles and technique. I then take our split shells into ZBrush and use UVMaster for relaxing and flattening the shells with ease. From there, we can organize the uv layout and packing back in 3dsmax.
I cover all elements of the whole character, including HEAD/FACE, HAIR (solid), EYES, and how to unwrap and organize all the other pieces of the body/outfit.
3.5 hrs of mostly real time non-edited videos with voiceover instruction (some moments are on 2x speed just to make it more "watchable" and sm